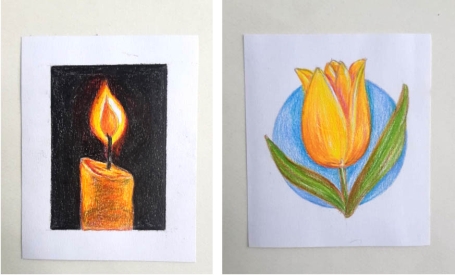
I recently tried a new coloring medium—colored pencils—and I’m excited to share my experience! Compared to other mediums, colored pencils are portable, user-friendly, and budget-friendly. However, achieving your desired results requires time and patience.
Choosing the Right Paper
Selecting the right paper texture is key. Some artists recommend rougher surfaces, while others prefer smoother ones. I experimented with both, and I think the choice largely depends on the effect you want to achieve.
My Process
When working with colored pencils, I begin as I would with other mediums like acrylic, gouache, or watercolor. I sketch my outline and then lightly erase the darker areas to avoid muddying the colors.
Next, I build up thin layers of color by applying strokes in various directions—left, right, and circular. This layering technique helps the colors blend beautifully over time. I start with light pressure and lighter pencils, gradually transitioning to darker shades to add depth and dimension. Don’t forget to preserve the areas for highlights! Alternatively, you can enhance the highlights later using a white gel pen.
Finished Artworks & Video Tutorials
Below, you'll see my completed pieces using this technique. I’ve also created video tutorials to demonstrate my process in detail. You can find them on my YouTube channel—don’t forget to subscribe! Thank you for your support!


No comments:
Post a Comment